Photoshop Actions

Are you spending too much time with repetitive tasks in Photoshop? Photoshop actions allows you to record a process and save that information as an action which you can then use for other tasks down the road. Not only that, you can edit actions after the fact and customize them to suit your needs.

While you can make an unlimited amount of actions, including color correction, below is an example of how to resize images ideal for Powerpoint. Take some time to plan the steps of the actions before recording.

1. Select “New Action” from the bottom right of the Actions window. Title the action and click “Record.”


2. To resize the image, go to the Image menu and select Image Size. Change the resolution to 150dpi.


3. Now SAVE AS a JPEG to a specific location on your computer.

4. Finally, click the “Stop” button at the bottom left of the Actions window. You can now use this action on individual images by pressing the “Play” button or Batch Process an entire folder.


Saving Images in LUNA

For Saving Single Images in LUNA:

  • Once you find an image you want to save, click on the thumbnail. This will give you a larger-sized image with cataloging information.
  • Double-click on “Export” button in the upper right corner.
  • Select the desired pixel size
    • If the image is going to be displayed in PowerPoint, at least 1500 pixels is sufficient.
  • Save the file to a specified location.
  • Unzip the downloaded file. The image is inside the folder and can be dropped into PowerPoint at this point.


To Save a Group of Images in LUNA and Export to PowerPoint:

  • Either open a media group or create a new one. For information on media groups, see LUNA’s video tutorial here.
  • The entire set of images can be downloaded from here by clicking the “Export” button at the top of the media group.
  • Once the media group contains all the images you want, in the order you want, click on the “Export to PowerPoint” button.
  • This will bundle the set, open PowerPoint, and populate a new slideshow with both images and cataloging data.


Recent Improvements to ARTstor

In August, ARTstor made several improvements to the ARTstor Digital Library, including:

  • Export 2,000 images to PowerPoint in a 120-day period with up to 150 images per download. (Was previously 1,000 images in a 120-day period).
  • Browse through image groups from the Image Group Panel. After opening an Image Group, there will be a tab in the Image Group panel where you can navigate to another image group.

If you have any questions about ARTstor’s new (or old!) features, please do not hesitate to get in contact with the VRC.

PowerPoint Shortcut: Loading a Folder of Images

On a PC, it’s easy to load a folder of images directly into PowerPoint. With your presentation open, click on Insert in the menu bar, then click on Picture, then New Photo Album… This option lets you select an entire folder of images to add to your presentation. To learn more, download the VRC’s Powerpoint Manual for PC (pdf).

Macs do not have a built-in photo album option. You can, however, install a simple program to import a folder of images. For a free version of this program, please contact the VRC. Let us know what version of PowerPoint you are using (i.e. PowerPoint 2007, 2008, 2011) and what operating system you have (i.e., Mac OS 10.5).


How to Sync Presentations to iPad

Are you teaching or presenting with your iPad 2? Want to avoid e-mailing large PowerPoint or Keynote presentations to yourself? It’s easy to to sync presentations to iPad using iTunes and your Keynote app.

First, connect your iPad to your computer. iTunes should launch automatically (if not, open iTunes from your dock or Applications folder). On the left panel in iTunes, under Devices you should see your iPad. Click to highlight it.

Next, navigate to the menu tab for Apps.

Scroll down to see File Sharing options. On the left you will see any apps that allow file sharing between your computer and iPad.

To sync presentations, select Keynote. At right you will see the list of Keynote Documents that have been synced to your iPad. To start loading presentations (in either PowerPoint or Keynote format), click “Add…” then navigate to wherever you’ve saved the presentations on your computer. Then select Open. The presentation will be added to your list of documents.

After adding your presentations, click Sync at bottom right in iTunes. Your presentations will now be available in your Keynote app on iPad.

Please contact the VRC with any questions!

Teach and Present with the iPad 2

Tired of lugging your laptop from class to class? Try teaching and presenting with your iPad 2 instead! The iPad 2 can connect to a projector through a VGA adapter, just like your laptop. You can open PowerPoint and Keynote presentations in the Keynote app for iPad. Here’s what you’ll need:

Once you’ve navigated to your presentation online (or in Keynote), click to open. If loading from the web, click again on “Open in Keynote.” Keep in mind that some formatting may be lost in translation from PowerPoint to Keynote, or from your laptop to your iPad. See this guide from Apple Support on best practices for creating a presentation on a Mac for use on an iPad. Some quick tips:

  • The simpler your presentation, the more likely it will open properly on iPad.
  • Swipe or tap iPad’s screen to switch slides.
  • Presenter notes will show up on iPad, but you must select that option from the menu at upper right.
  • Use simple fonts; unrecognizable fonts will automatically be replaced with Helvetica.
  • Resize images before inserting them in your presentation; this allows for quicker download.
  • Do not plan to transmit audio; currently projection from iPad 2 only works for video.
  • The first generation iPad does not support projection or mirroring.

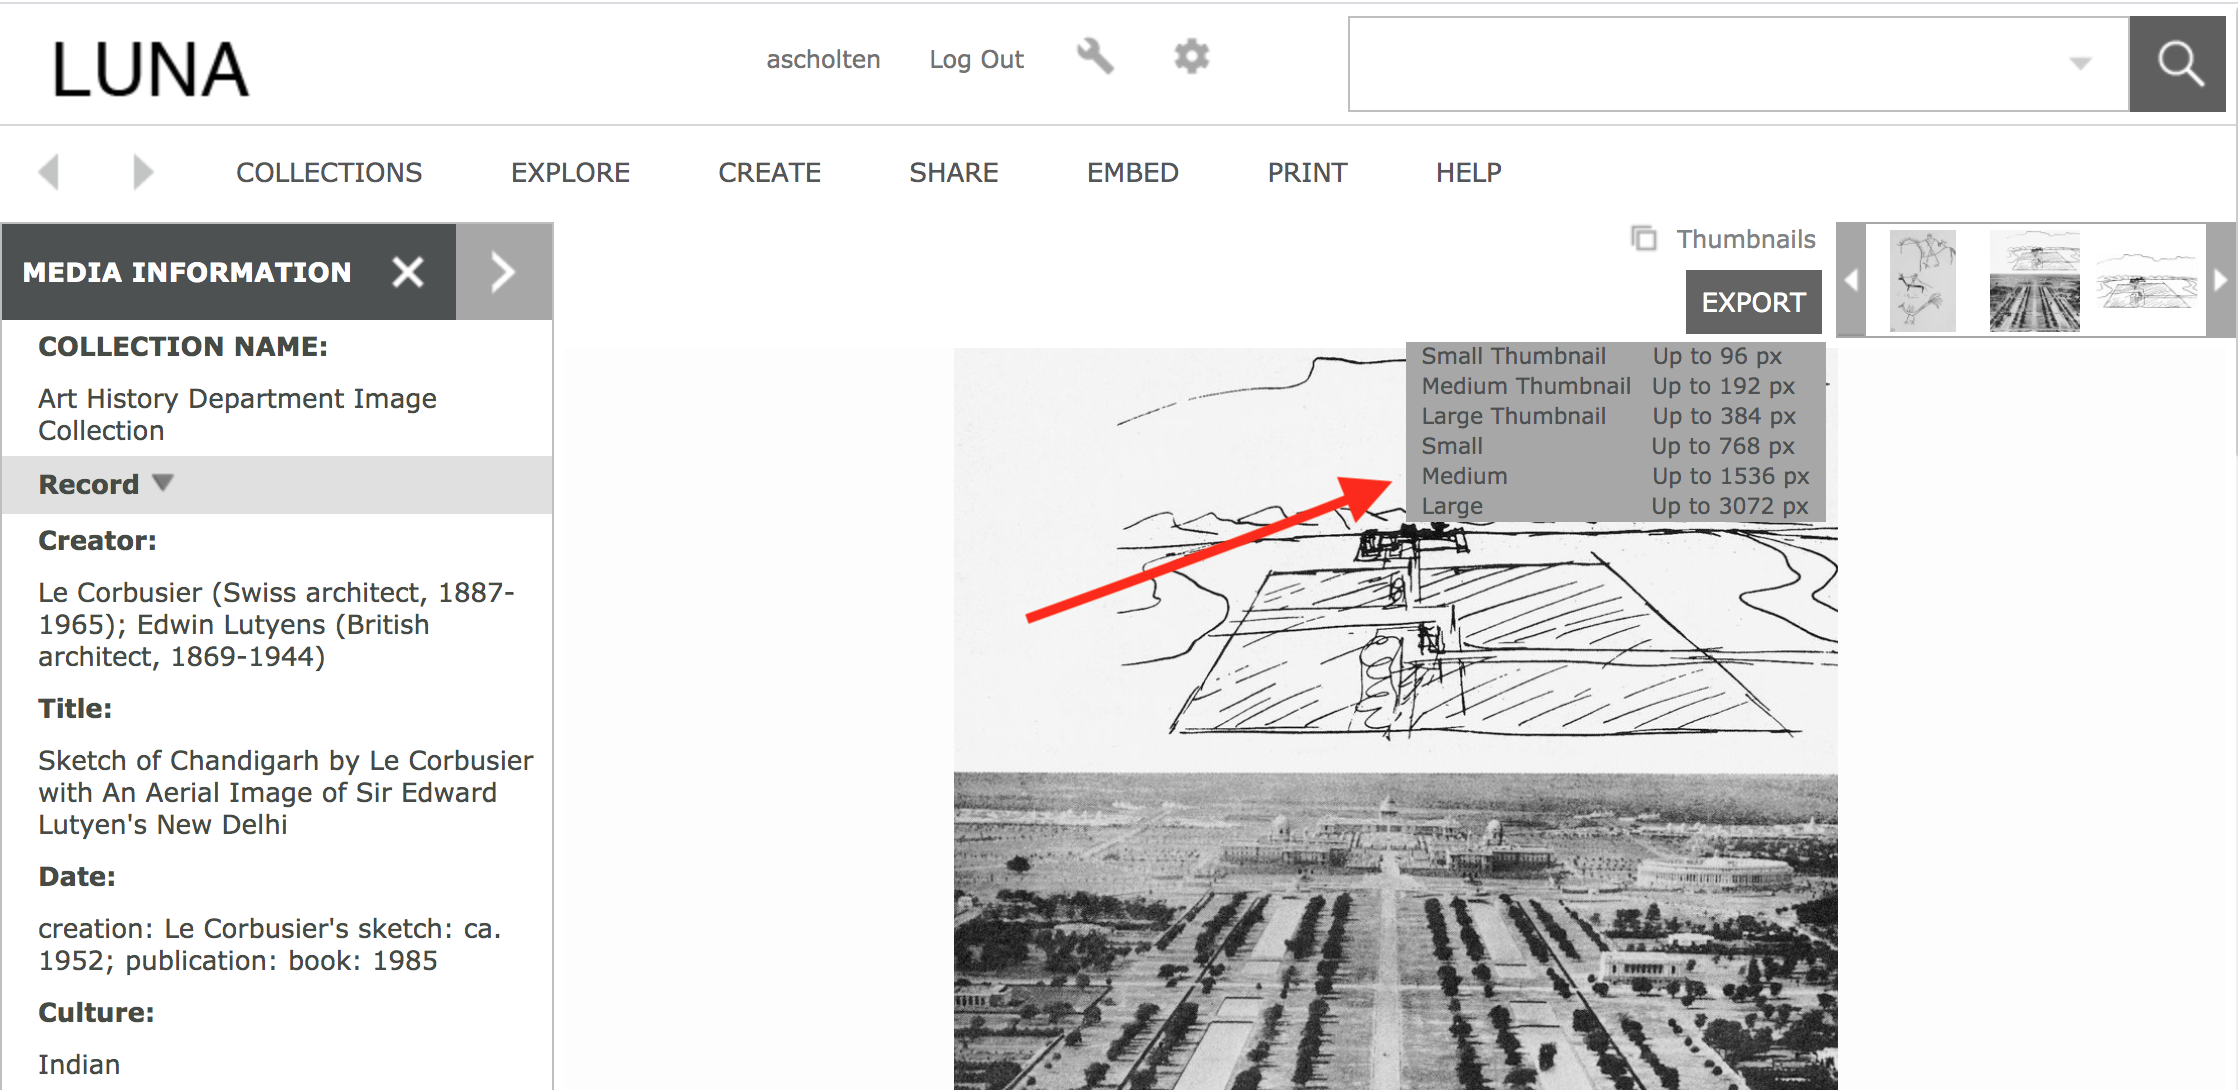
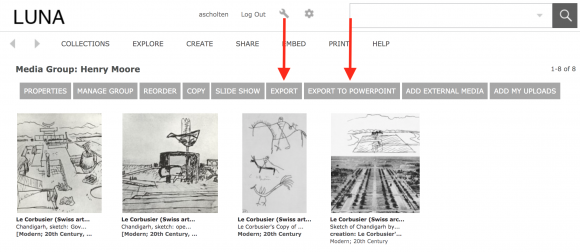
You may also use iPad 2 to present media groups or slide shows in LUNA. LUNA mirrors from iPad 2 seamlessly! Contact the VRC if you’d like a demonstration.

Unfortunately, iPad is not yet fully compatible with ARTstor but you can access some ARTstor functionality on iPad with their mobile app.

PLEASE NOTE: Your iPad displays all passwords character-by-character as you enter them. Right now there is no way to change this option. Wait until you have logged in to Chalk, email, LUNA, or other websites before connecting iPad 2 to the projector.

If you have any questions about teaching with iPad 2, or if you’d like to borrow an iPad 2 and adapter to try out the possibilities, please contact the VRC.

ARTstor Digital Library Updates

ARTstor recently updated features for the Fall 2011 quarter:

  • Filter search results by Time Period, Classification, and Geography
  • Choose the number of thumbnails displayed
  • Mouse-over to view larger images
  • Compatibility with Firefox 5
  • ARTstor Mobile for iPad, iPod Touch, iPhone
  • Batch download to PowerPoint

Additionally, new image collections include:

Check the ARTstor blog’s release page for more new releases, or see their Collections page for a full collection list. If you need help making the most of these collections and features, please contact the VRC to schedule an ARTstor training session.

UPDATE: ARTstor has also changed their download policy so that users must be logged in to download images. To register for ARTstor, click here and then select “Register” at upper right. If you choose to use your Cnet email address, do NOT use your Cnet password (for security reasons).

PowerPoint 2011

Have you upgraded to PowerPoint 2011 on your Mac, or are you thinking about upgrading? Microsoft Office for Mac has released some helpful tutorials, including general PowerPoint basics and more specific guides (like how to design your presentations using themes). A very useful PowerPoint 2008 to PowerPoint 2011 map also shows new locations of commands in the 2011 version.

If you have any questions about PowerPoint or would like to request a training appointment, please contact the VRC.

How to Bring Your Presentation to Class

As the end of the quarter approaches you will probably be presenting projects in class. Whether you’re using Powerpoint or Keynote, here are some best practices to keep in mind:

  • Load your presentation to Chalk (using the Digital Dropbox feature – click here for a PDF guide to Digital Dropbox).
  • Alternately, load your presentation to Webshare.
  • Bring a backup of your presentation on a flash drive. Flash drives are the second-best option, since not all drives are recognizable on all computers.
  • Resize images for use in Powerpoint or Keynote (to 1500 pixels on the long side). This will reduce file size and ensure your presentation loads quickly.
  • Be sure to always insert images from your computer by selecting Insert > Picture in Powerpoint. Dragging and dropping images creates links in some versions of Powerpoint (rather than actually copying the image), which is a problem if you use a different computer to present.
  • If your presentation contains video, be sure to save copies of those video files and load them to Chalk/Webshare or bring them on a flash drive. Videos display differently in different presentation tools and sometimes these slides may need to be re-inserted.

If you have any questions, please contact the VRC!

We’ve Moved!…

…back upstairs, and down the hall! Please come visit us in Suite 257 of the Cochrane-Woods Art Center.

The beginning of fall quarter is quickly approaching. Need help using ARTstor? Finding what you need in LUNA? Creating presentations? As a reminder, VRC staff are available for individual or group training sessions. We also provide in-class image searching orientation for students in the humanities. If you are interested in scheduling a session, please contact us.