Photographing in the Field Workshop

Photographing in the Field Workshop
Wednesday, May 10, 12:00-1pm CWAC Rm 257
Hosted by the Visual Resources Center
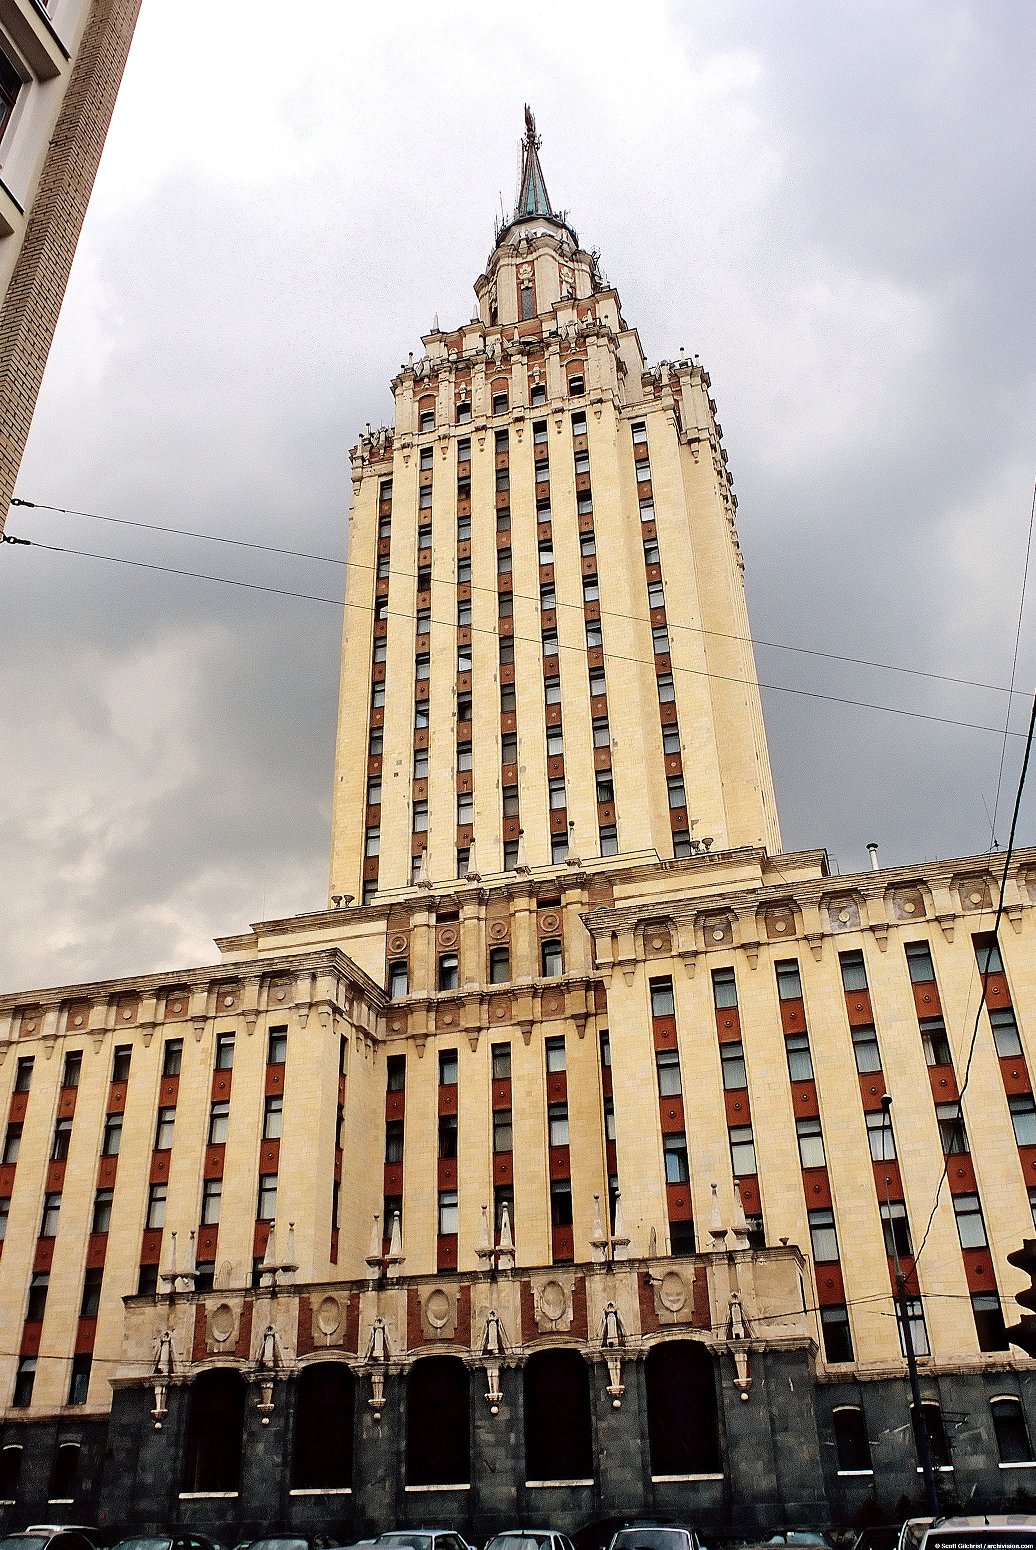
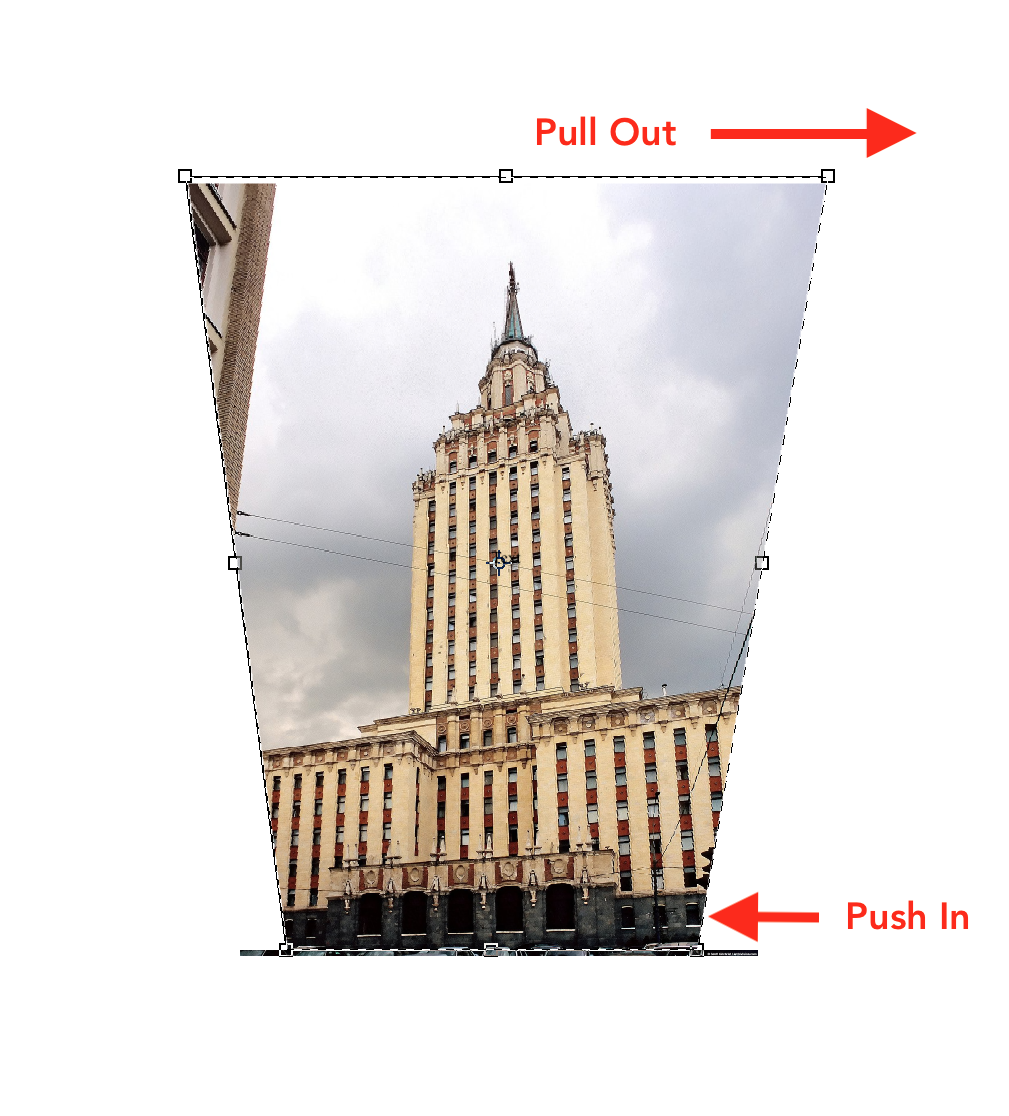
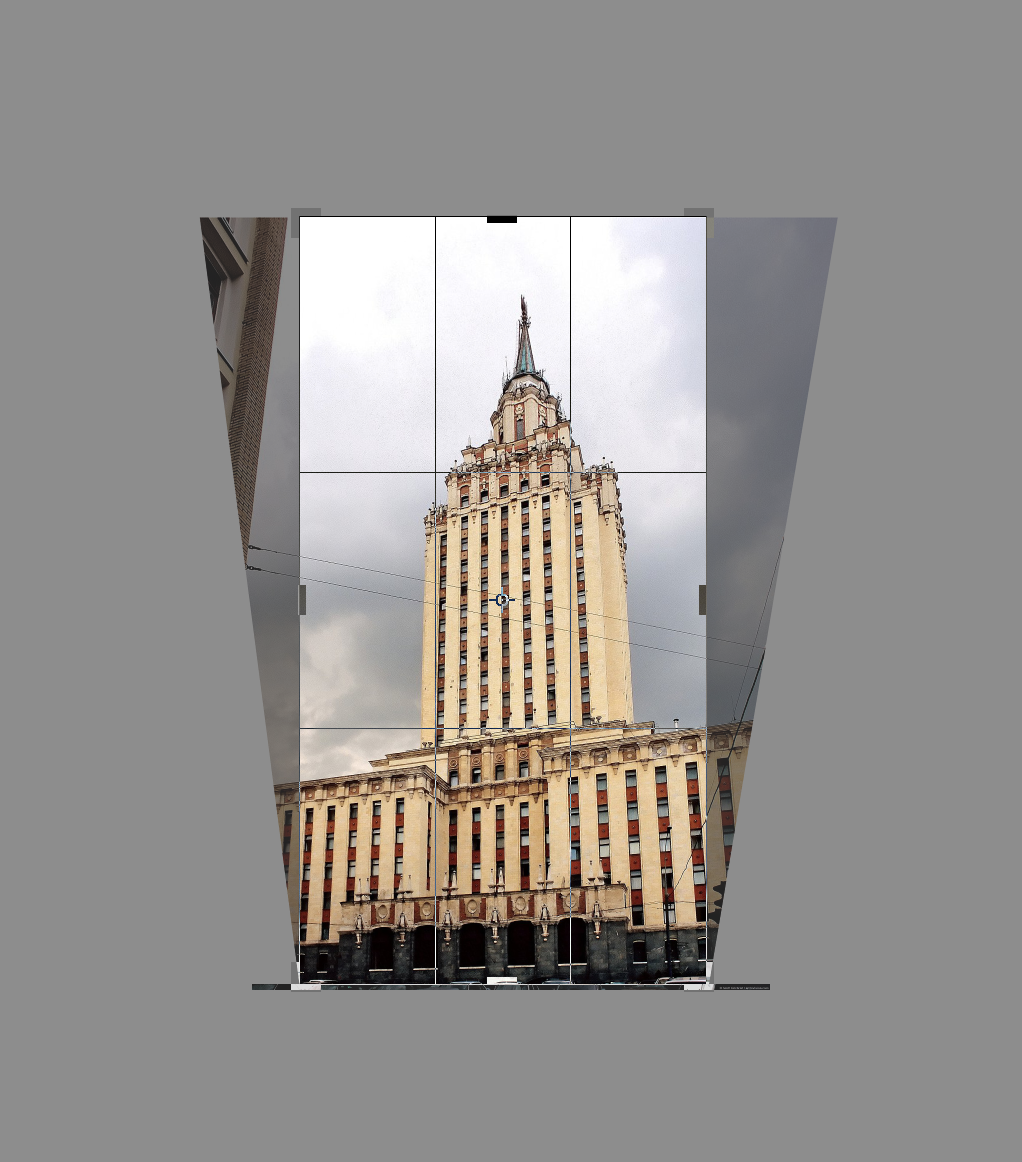
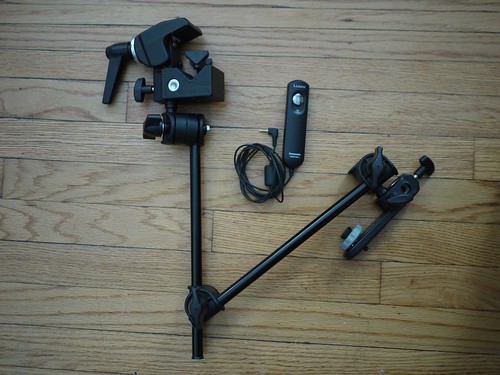
Will you be going on a research trip this summer and could use some photography tips and tricks? This workshop will discuss basic camera controls and techniques for taking pictures in museums, archives, and architectural sites. We will also discuss some simple Photoshop techniques used to improve photographs taken in difficult situations. Come with questions and your camera! Sandwiches will be provided after the workshop. RSVP to wgaylord@uchicago.edu.

Image by © Babak Tafreshi/National Geographic Creative/Corbis


Keystoning Correction in Photoshop

Keystoning occurs when the subject is not parallel with the camera lense. For example, if the camera lense is closer to the bottom of the building, it will appear much larger than the top of the building in the photograph.


1. Double the size of the canvas. Image > Canvas Size
2. Select the entire image area.
3. Edit > Transform > Skew
To rectify right angles and retain proportions do not pull top corner fully out, but only halfway out, and then pull other corner halfway in, creating a fulcrum upon the midpoint of the line.

It may help to view the image with a grid. View > Show > Grid
4. Now crop out the superfluous two corners.

Photoshop Actions

Are you spending too much time with repetitive tasks in Photoshop? Photoshop actions allows you to record a process and save that information as an action which you can then use for other tasks down the road. Not only that, you can edit actions after the fact and customize them to suit your needs.

While you can make an unlimited amount of actions, including color correction, below is an example of how to resize images ideal for Powerpoint. Take some time to plan the steps of the actions before recording.

1. Select “New Action” from the bottom right of the Actions window. Title the action and click “Record.”


2. To resize the image, go to the Image menu and select Image Size. Change the resolution to 150dpi.


3. Now SAVE AS a JPEG to a specific location on your computer.

4. Finally, click the “Stop” button at the bottom left of the Actions window. You can now use this action on individual images by pressing the “Play” button or Batch Process an entire folder.


Shoot Now, Focus Later: The New Lytro Camera

Start-up company Lytro is causing a buzz with their so-called light field camera, the first to allow users to shoot first and focus later.

While viewing a picture taken with a Lytro camera on a computer screen, you can, for example, click to bring people in the foreground into sharp relief, or switch the focus to the mountains behind them.

The camera will be released to the consumer market later this year. Via The New York Times.

Photographing Archival Materials

Before embarking on a research trip, you might prepare to photograph materials in libraries and archives. It can be difficult to capture quality images of archival materials, especially in low-light situations. A recent guest post on ProfHacker details one way of stabilizing a digital camera, which includes using a clamp, articulated arm and wired camera remote as a sort of portable copy stand.

Keep in mind that some of the processes advocated in the article will not be allowed in all archives or libraries. Check with archives, museums or libraries before your visit to ask about policies; most will have specific requirements for equipment used in reading rooms. If you have questions about cameras or other photography best practices, please contact the VRC.

Via Derivative Image.