Folders can be used to organize multiple media groups created in Luna. Folders can contain single media groups, or can house multiple sub-folders.
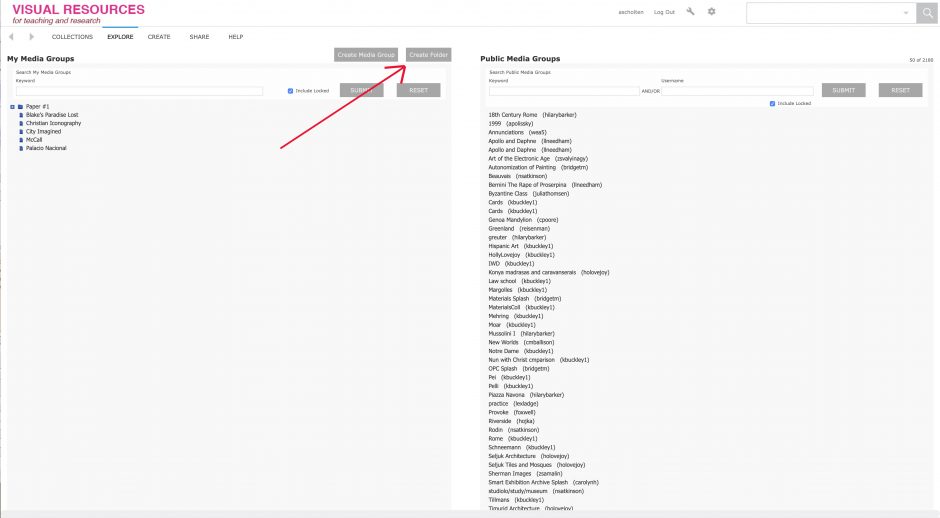
- To begin creating the main folder, select the gray “Create Folder” button in the top middle section.
2. Name your folder, making sure that none of the “Parent Folders” are selected. Hit submit.
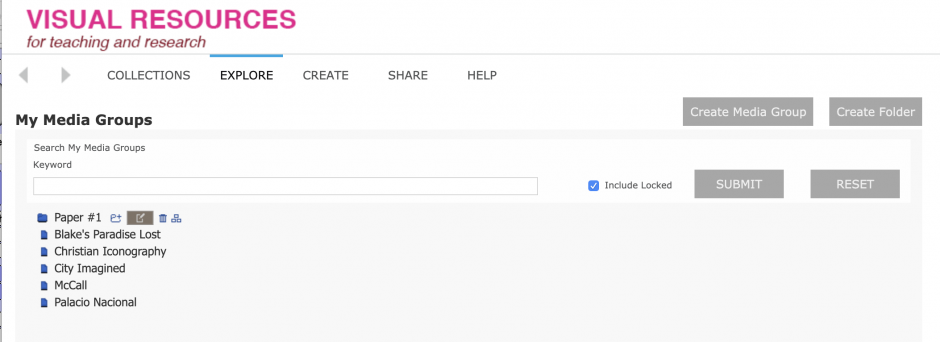
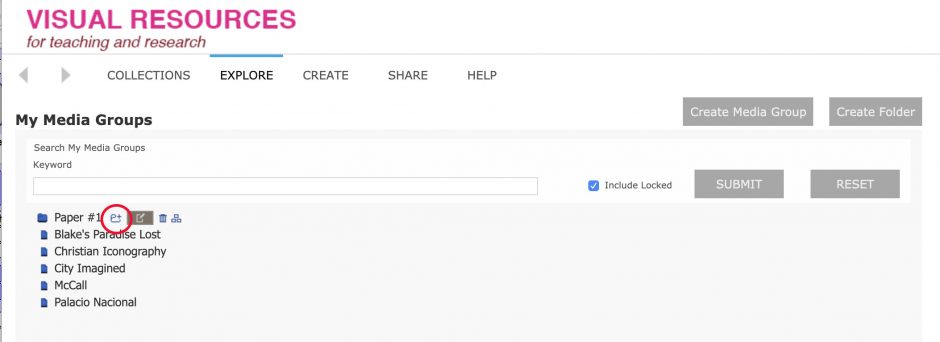
3. The folder now lives under “My Media Groups”. By hovering the cursor over the name and selecting one of the icons to the right, you can create a new sub-folder, edit the main folder, delete the folder, or create a media group.
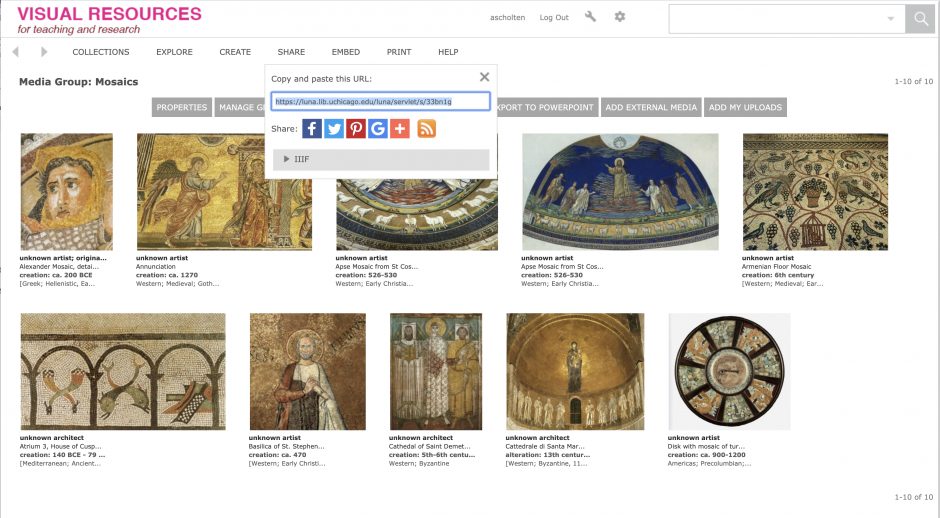
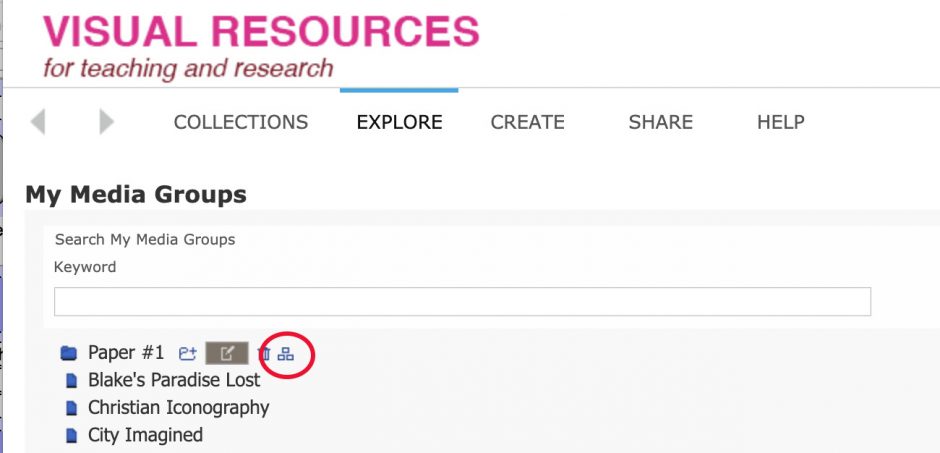
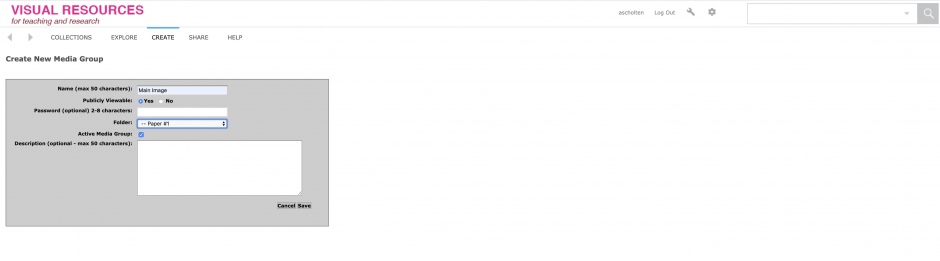
4. To create a media group within the main folder, select the icon with three squares.
This brings up a window to name the media group and select the folder it lives in. Click save. This group functions like any other Luna media group, storing a selected set of images.
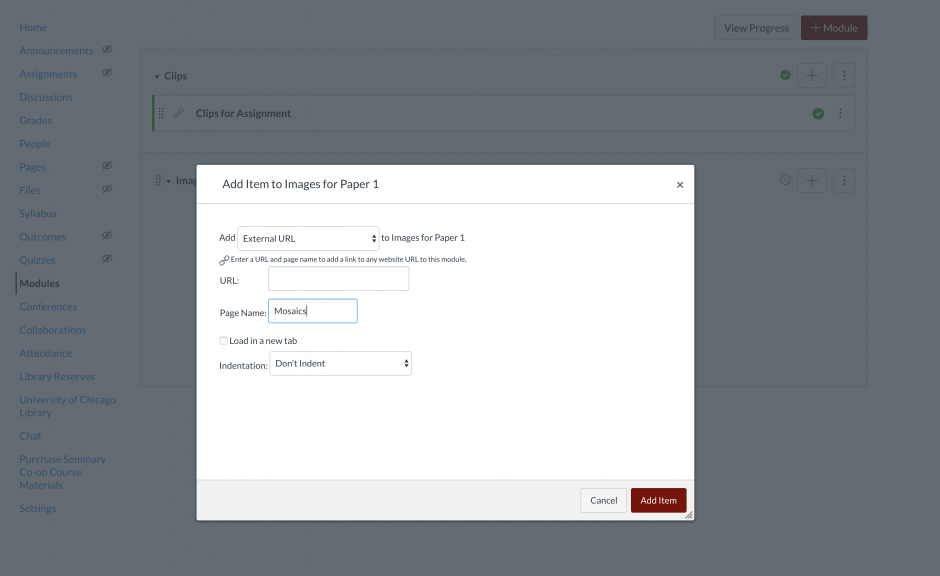
5. To create a sub-folder, select the icon of the folder with a + sign.
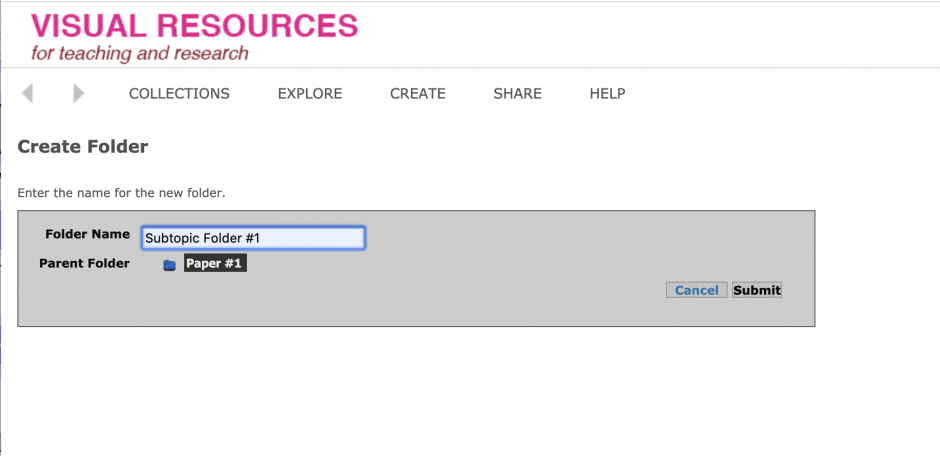
6. This opens a window to name the sub-folder and select the Parent Folder it lives under. Be sure that a Parent Folder is highlighted. Click submit.
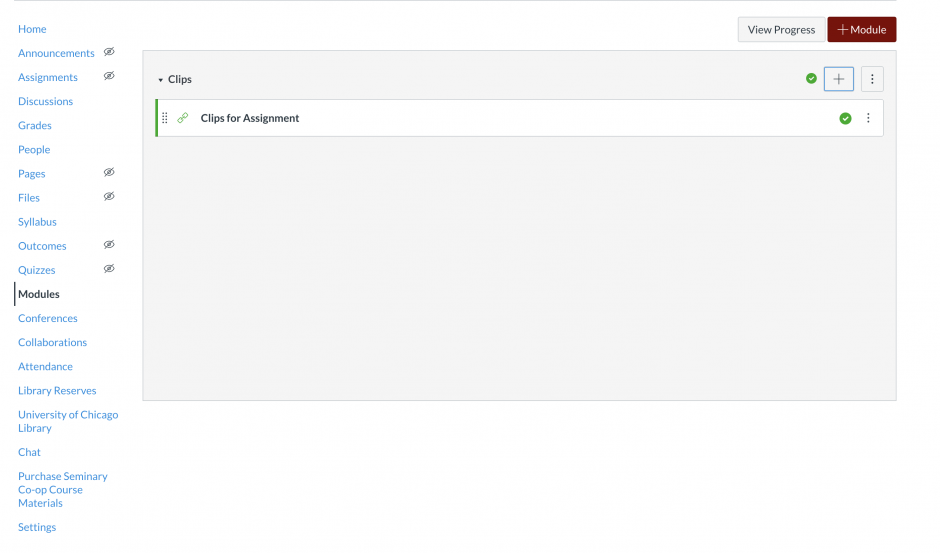
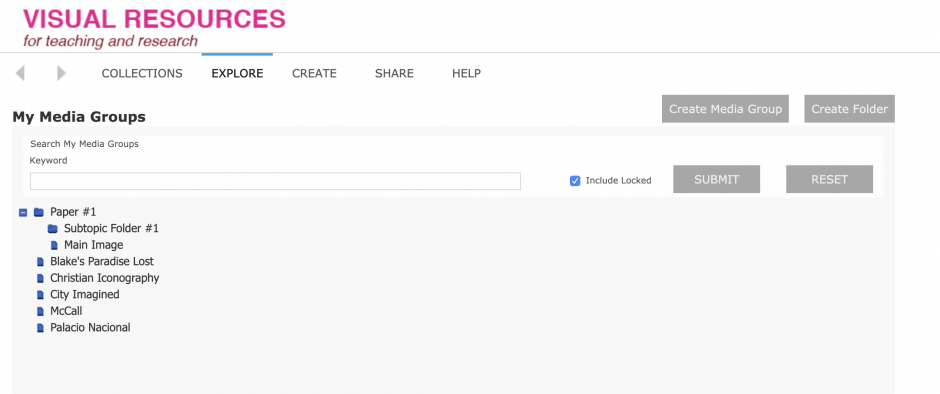
7. Expanding the parent folder will reveal any sub-folders and media groups it houses (i.e. parent folder “Paper #1” houses sub-folder “Subtopic Folder #1” and the media group “Main Image”). Subfolders can be used like main folders: hovering over the name will reveal the icons that allow you to create a media group or another folder within it.
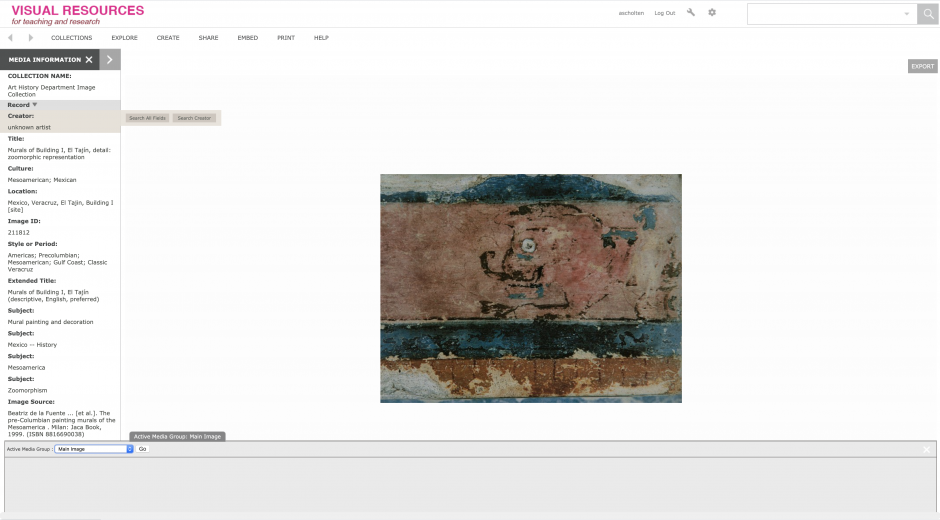
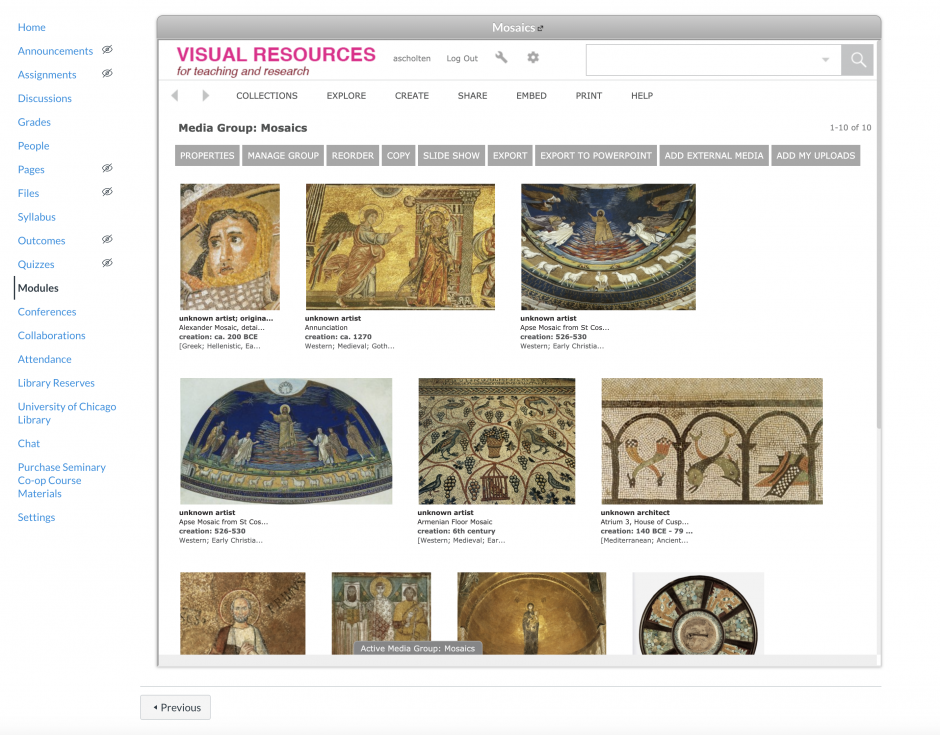
As you are working with multiple folders, be sure that images are added to the correct media group through the “Active Media Group” tab at the bottom. You can toggle between which media group you want to save the image to via the blue drop down menu.